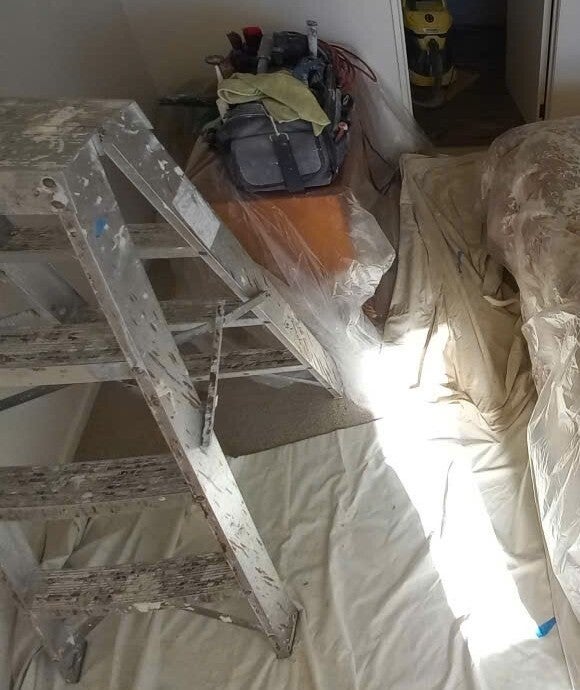
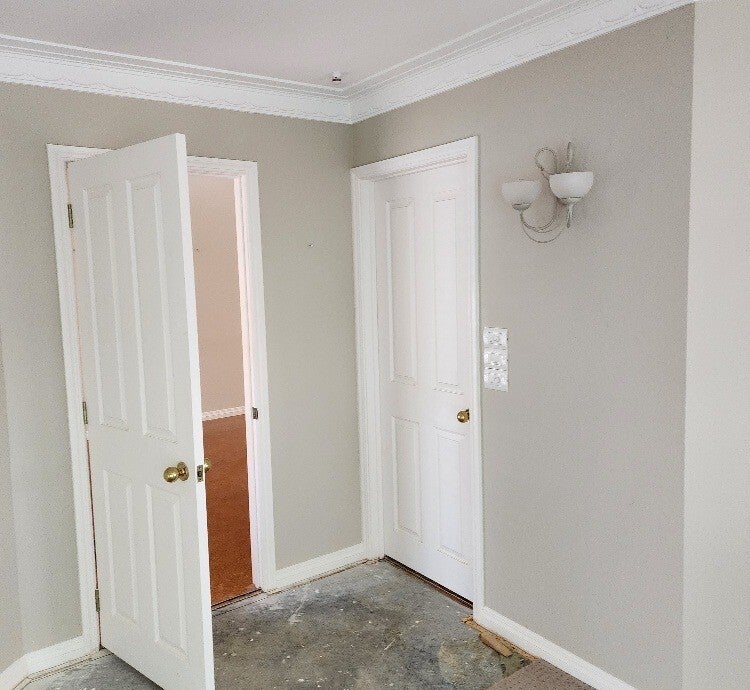
 REAL PROJECT PHOTO · PUKEKOHE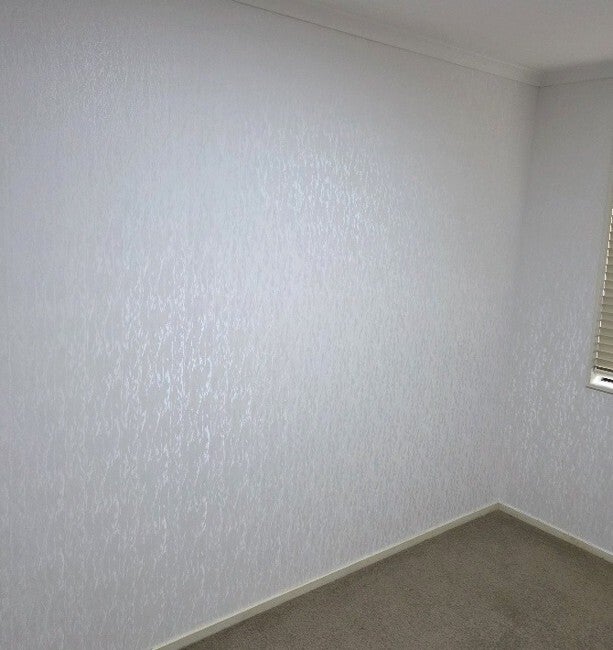
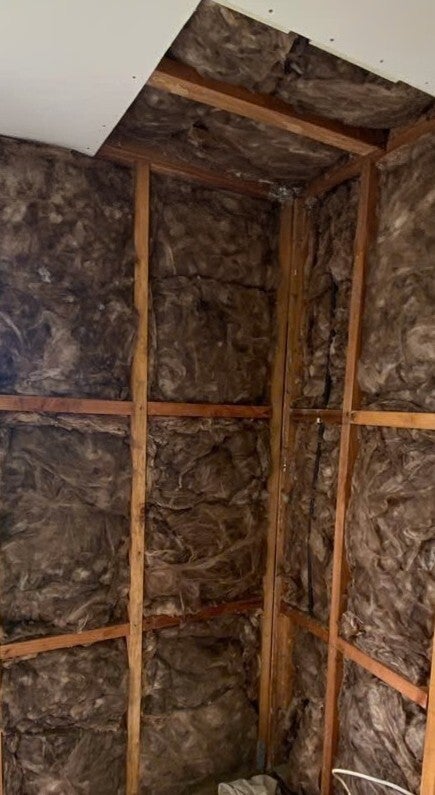
Painting
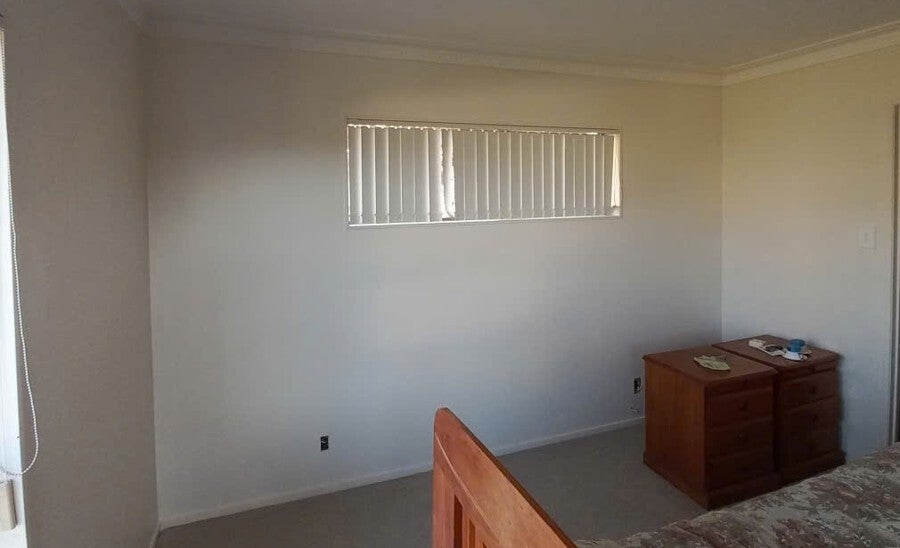
A sound, dry interior wall repainted with a brush and roller. Preparation is part of the job, not an optional extra.
Know the limit: This guide does not cover roofs, spray painting, lead-paint removal, extensive mould or failing exterior coatings.
Tools & materials
Tick what you have. Add the shared safety kit below.
Core tools 12 entries
Materials & consumables 6 entries
Only when your job needs them 3 entries
How to do it
9 steps · Read the whole method before starting.
01Check the wall and choose the system
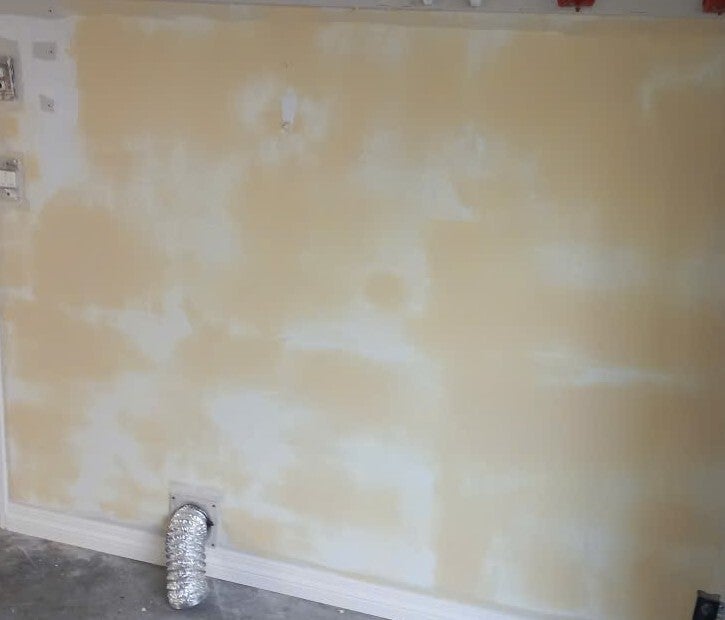
Look for dampness, flaking, mould, stains and movement. Fix the cause before decorating. Have unknown older coatings assessed before scraping or sanding.
02Protect the room
Move what you can, cover furniture and protect the floor. Mask clean edges. Keep electrical fittings dry; have an electrician deal with fittings that need disconnecting.
03Clean and let it dry
Remove grease and dirt with the specified cleaner. Rinse where directed. Paint needs a dry, sound surface, not a film of cleaner or dust.
04Repair and smooth
Fill minor defects, allow the filler to dry, then smooth the repairs without gouging the wall. Use suitable dust control. Remove the resulting dust before coating.
05Prime only where needed
Apply the primer or sealer specified for the substrate and finish. Stained surfaces and new plasterboard may need different products. Allow the prescribed drying time.
06Stir, then cut in
Stir the paint thoroughly. Brush a neat band at corners, ceiling lines and trim, working in manageable sections so the brushed edge can be rolled into while still wet.
07Roll with a wet edge
Load the roller evenly without flooding it. Spread paint across a small area, then finish with light, consistent strokes. Avoid pressing hard or reworking paint that has begun to dry.
08Recoat, then inspect
Wait for the product’s recoat time in the actual room conditions. Apply the specified number of coats; coverage and colour may require more. Inspect under normal and side lighting.
09Clean up and allow curing
Remove masking as its instructions direct. Clean tools, collect waste and keep paint washings out of stormwater drains. Treat fresh paint gently until the manufacturer’s curing period has passed.
A thicker coat is not a shortcut. Even application, adequate drying and the right preparation matter more than speed.
Check for missed edges, drips, patchy sheen and visible repair ridges before packing away.
Watch and learn
Dulux NZ · How to paint interior walls
https://www.dulux.co.nz/how-to/painting-application/how-to-paint-walls/
Resene · Cutting in and using a roller
https://www.resene.co.nz/videos/paint-like-a-pro.htm